ddt_blog_fb_pixel

How to implement Facebook Pixel and Facebook Pixel Events?

How to create a Facebook Pixel

Before you are able to implement Facebook Pixel and Pixel Events, you will need to create a Facebook Pixel. To do this, go through the following steps:

1.  Go to Events Manager.
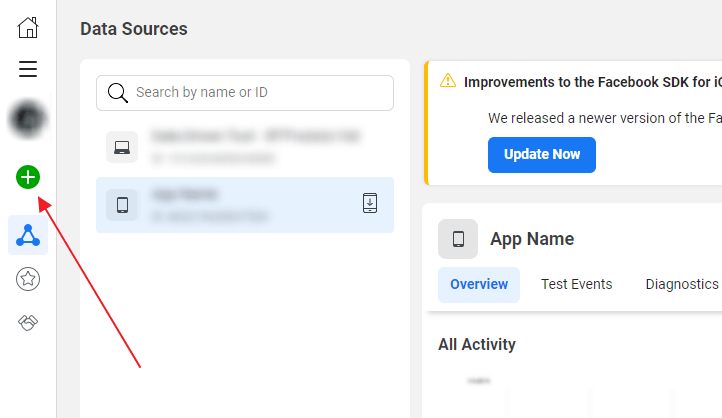
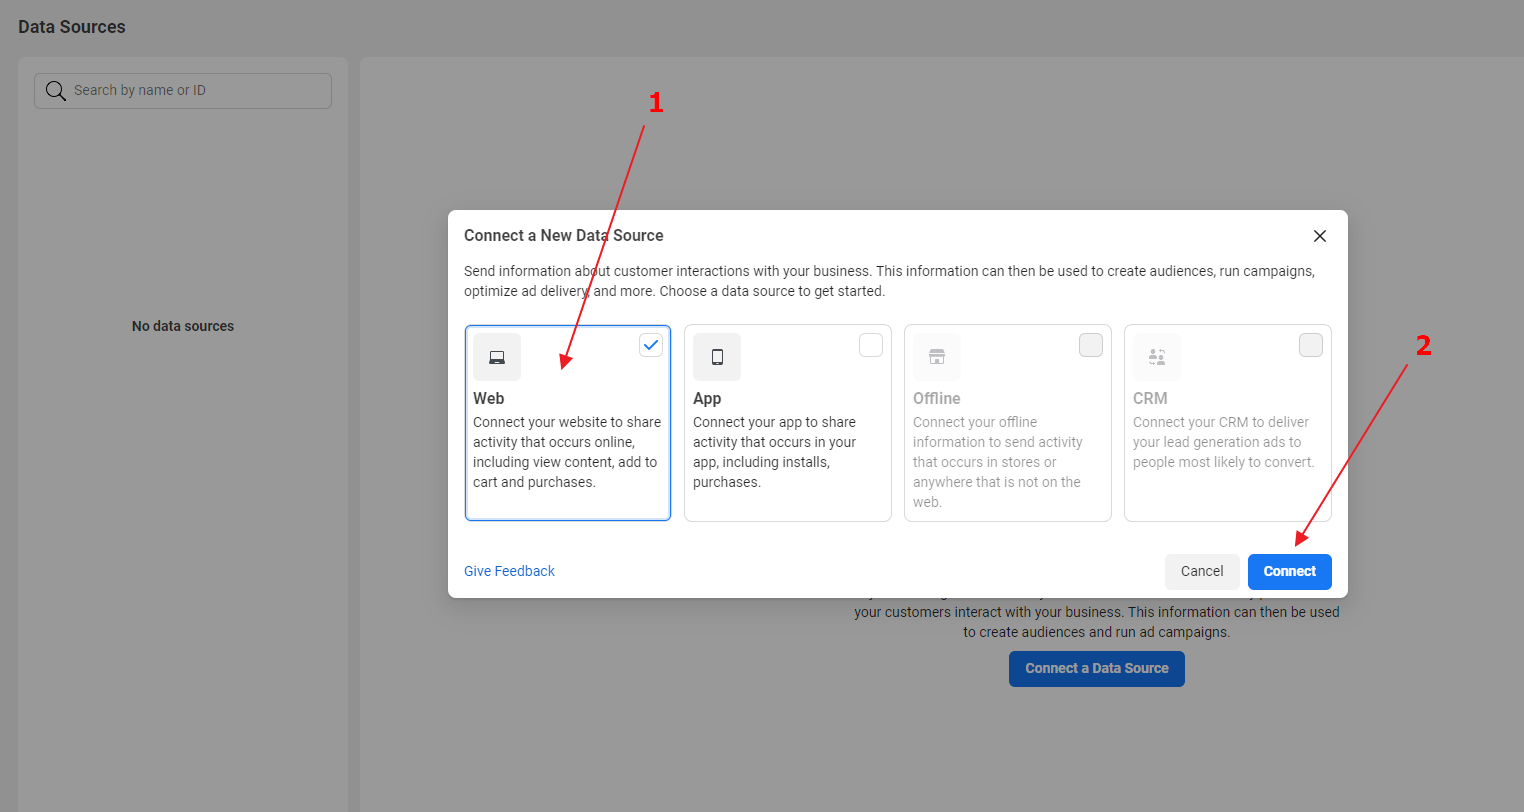
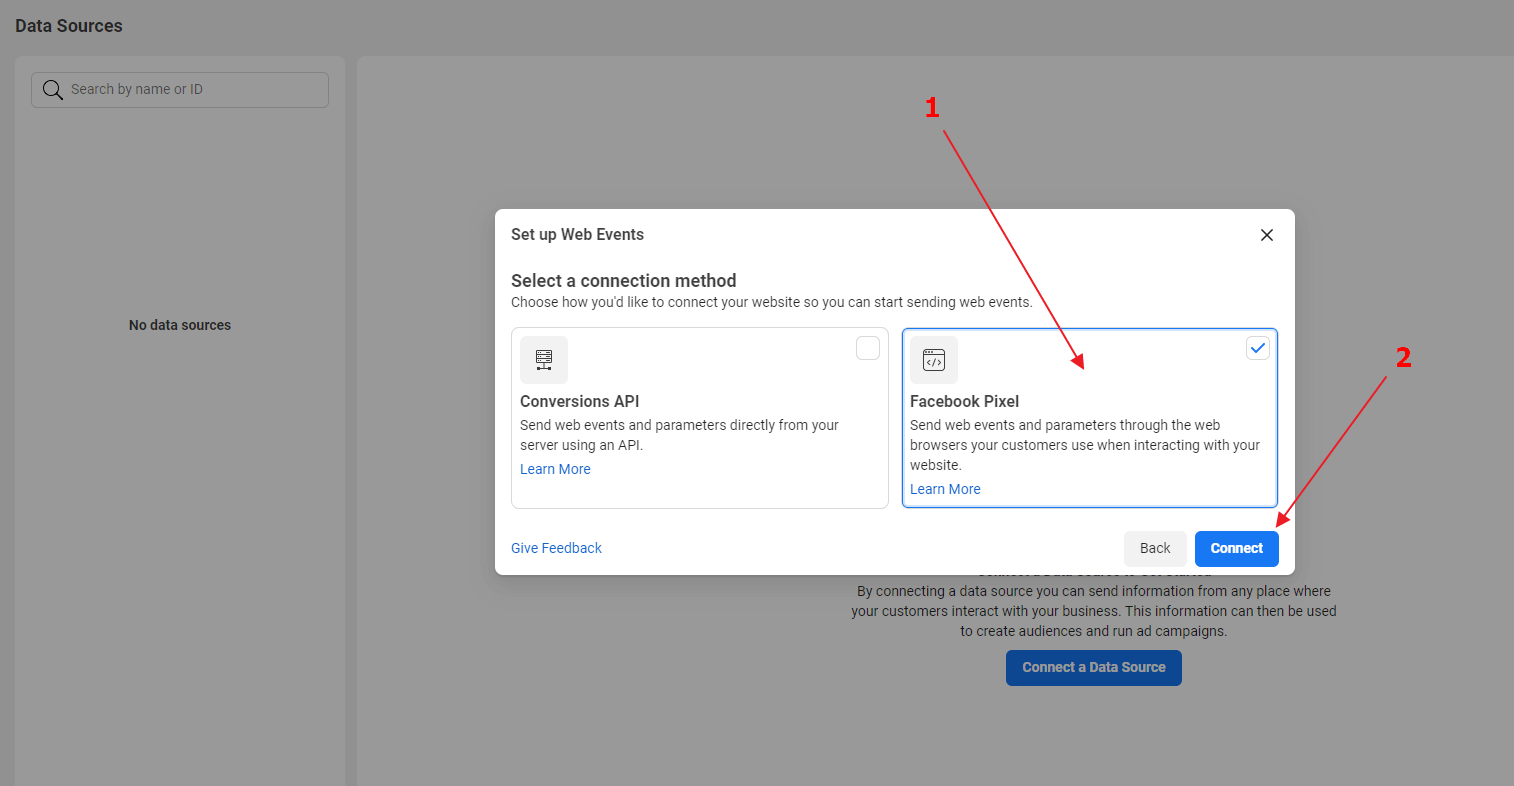
2.  Click    Data Connect Sources from the left-side menu.

3.  Under Connect a New Data Source choose Web and click on the Connect button.

4.  Then, select Facebook Pixel and click Connect again.

5.  On the next page, click Continue.

6.  Enter your Pixel name as well as the URL of your website to check your website for easy setup options. After that, click Continue.

Implementing Facebook Pixel and Facebook Pixel Events

Google Tag Manager

If you’re using Google Tag Manager, all scripts should be saved directly to your Google Tag Manager account.

WordPress

If you’re using WordPress, we would like to recommend our tracking plugin for easy, data-driven, and measurable online marketing.

Shopware

If you’re using Shopware, we would like to recommend this plugin.

Shopify

For Shopify users, this plugin will be ideal.

However, be careful if you want your website to be GDPR-compliant, because in that case, scripts like these should be linked directly to a Cookie Banner.

You can order both a Cookies banner and the configuration of Facebook Pixel directly from our specialists.

Click here to order our account and script Configuration service.

Contact us to order the script configuration for your Cookie Banner (only for customers who have used our Configuration service)

Need help?

No matter if you use Google Tag Manager or a whole different system, we can configure all the settings for you and help you set up your first data-driven Facebook Ads campaign using Data Driven Tool.

SHARE THIS POST:
Share on facebook
Share on twitter
Share on linkedin
Share on email