4. First, you may need to confirm your identity by, for example, uploading a photo ID. Not everyone will need to go through this step. You will only be able to continue after Facebook has reviewed your submission.
5. Next, you will need to fill out a form with your business details and click Next.
6. In the following step, you will need to select your business from the list of legal businesses that Facebook generates. If your business isn’t there, choose None of these match and click Next.
There, you will need to upload official documents to Facebook. First, select the document language. Then, choose a file and click Next. If Facebook approves, you won’t need to continue with the next steps.
7. After choosing your business, you will need to confirm your business details by selecting a phone number you have access to and receiving a verification code…
8. …or you can just verify your domain by adding a code to your business website. Doing both is generally a good idea.
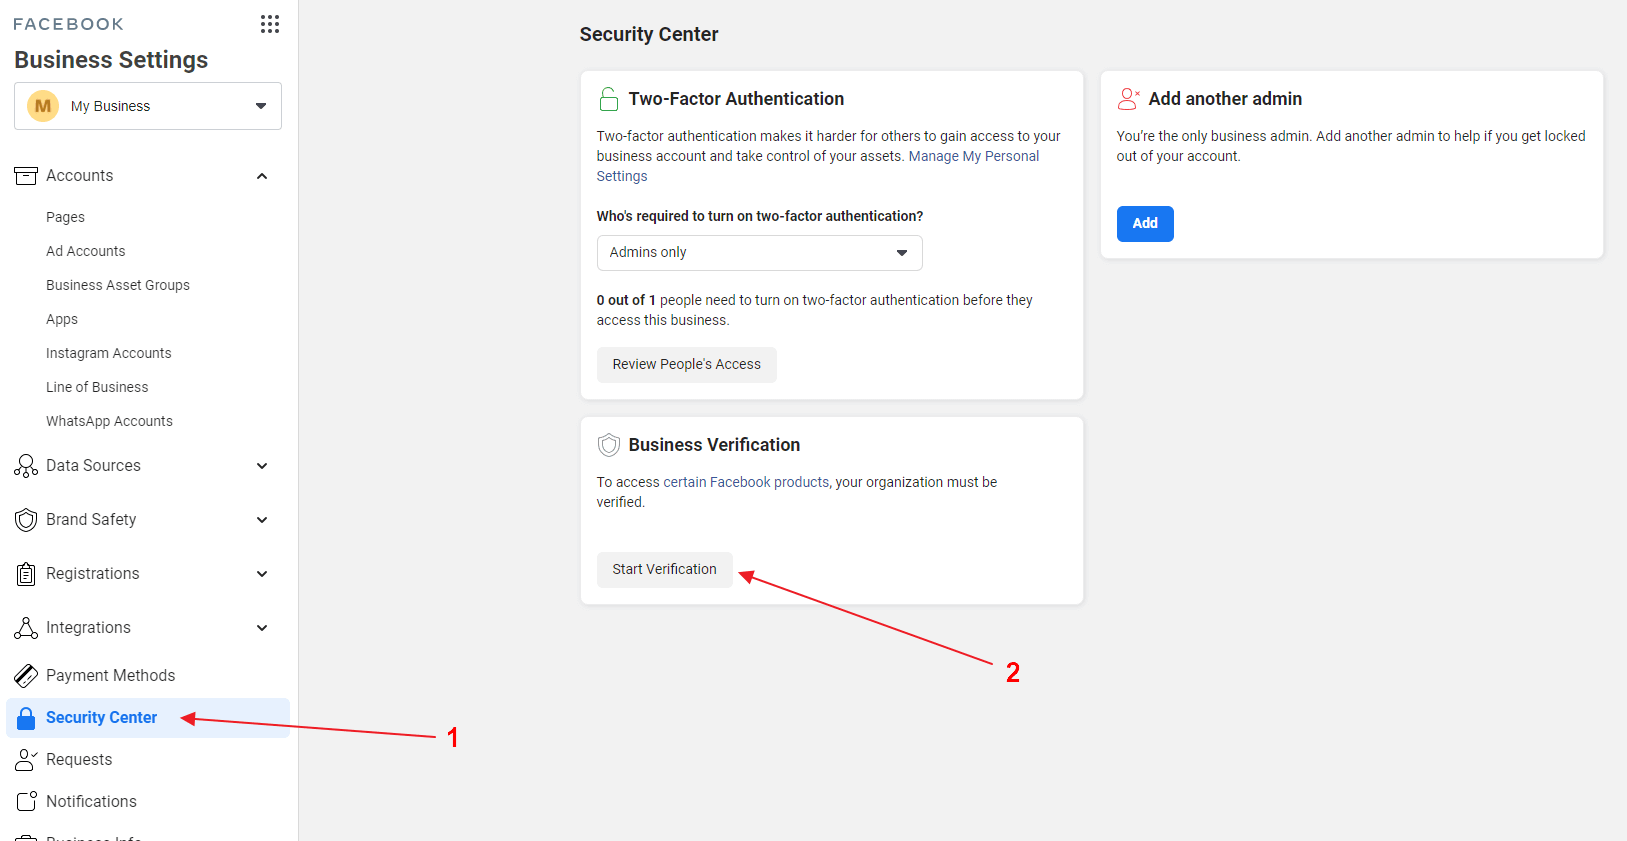
You will be finished once you receive a confirmation that your business has been verified. This may take some time. You can check your verification status by going to the Security Center in Facebook Business Settings: